
Let's take a closer look at how to set up Odoo 17’s Point of Sale. We'll break down the process step by step, making it easy to understand. By doing this, you'll discover how to make your sale operations smoother and improve the experience for your customers. Get ready to explore the user-friendly world of Odoo 17 Point of Sale and boost your company's efficiency and customer satisfaction
Creating a shop
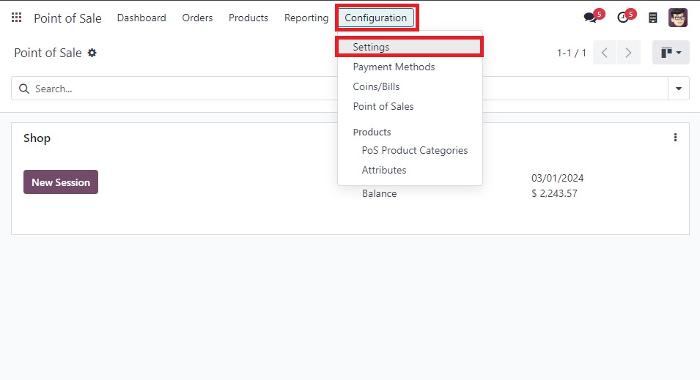
Open the POS in Odoo 17 to get a screen like this; here, we are going to create a new shop selling pet products.

We need to create a new shop, so first of all, go into Configuration -> Settings.
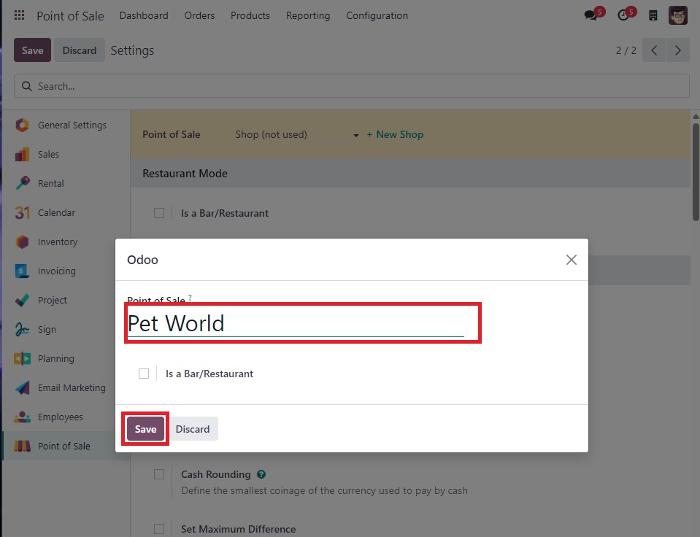
We can then see a window, shown below. Next, we should go to the new shop to create a new shop.

Then we can get a window like this, We can enter our shops name and click on save.
Configuring Point of Sale (POS)
Access the POS settings to configure various parameters such as payment methods, tips, and cash rounding
Consider unselecting the "Start category" to eliminate a starting category when initiating the POS system.

After configuring taxes and other settings, save the changes.
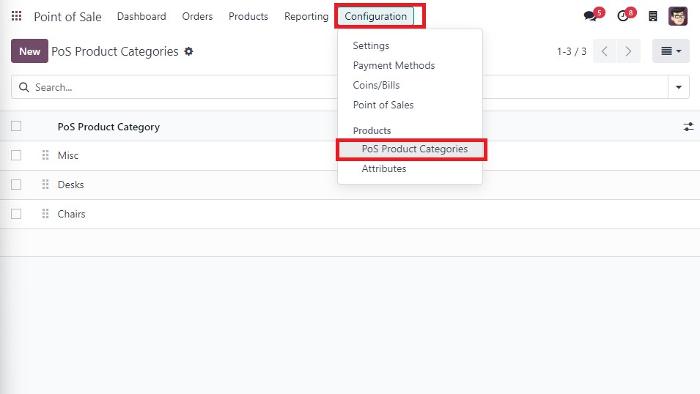
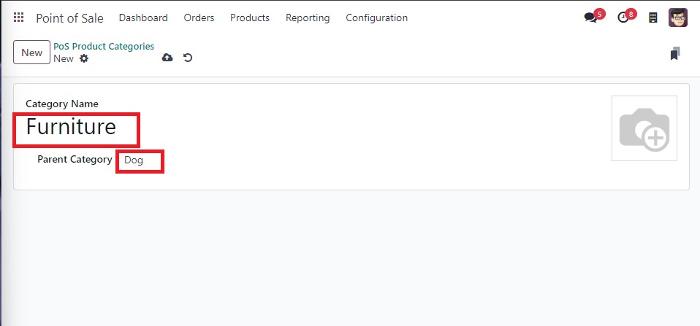
Creating product category
To organize your products, create product categories. Go to Configuration -> Pos product category.
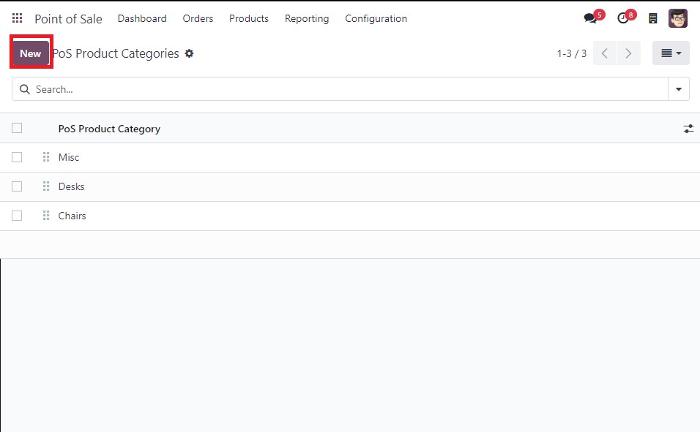
Click on the "New" button to establish a new category. For instance, create a category named "Furniture" with its parent category as "Dog.",
Generating Products and Variants
Move to the "Products -> Products" submenu to add new items and their variants.
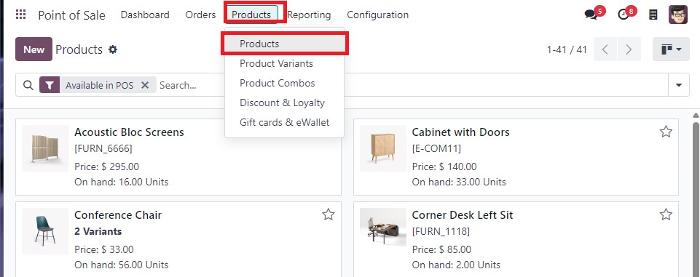
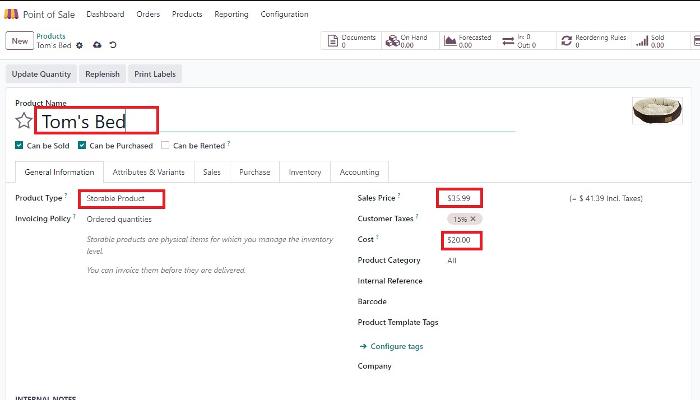
Click on "New" to create a product. Enter details such as the product name, type (e.g., Storable product), sales price, and cost.
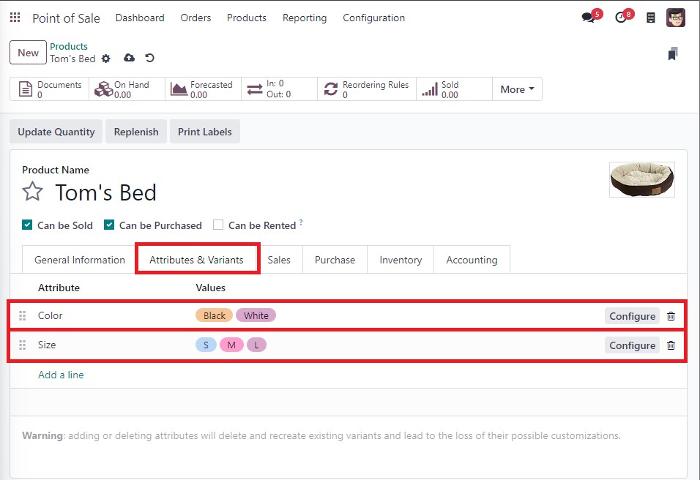
Navigate to "Attributes and Variants," select attributes like color and size, and add relevant values.
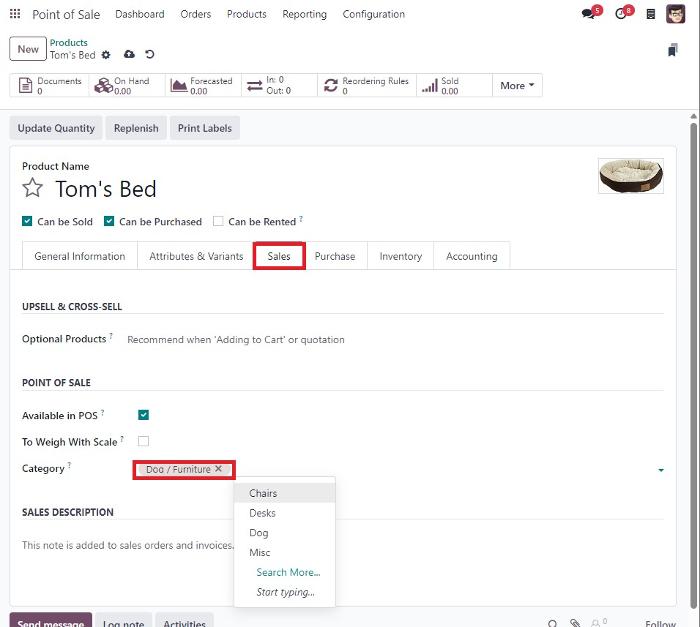
Under the sales section, assign the category to "Dog/Furniture."
Navigating the Point of Sale (POS) Interface
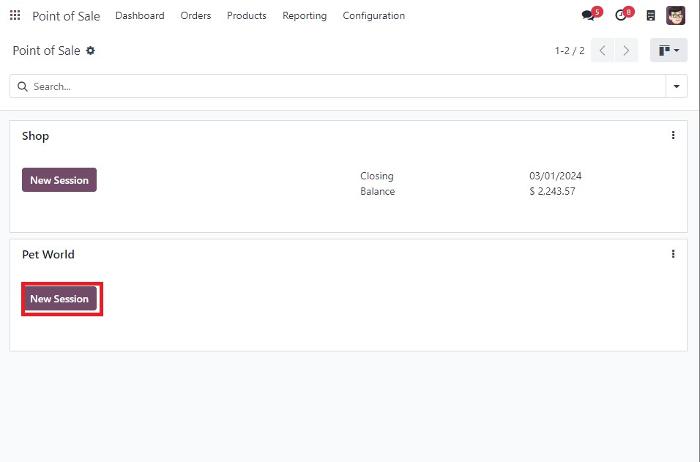
On the dashboard, access the newly created shop's section to open the POS interface.
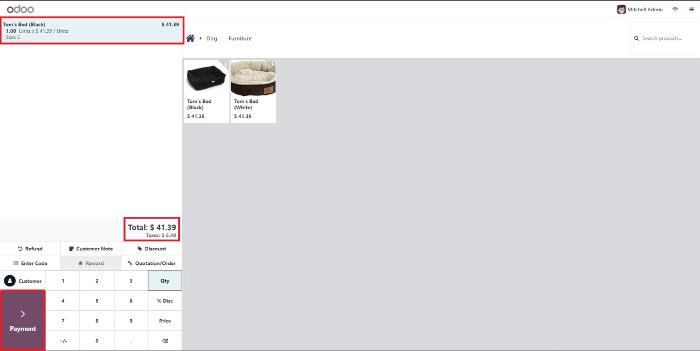
Explore the screen, focusing on product categories such as "Dog.".
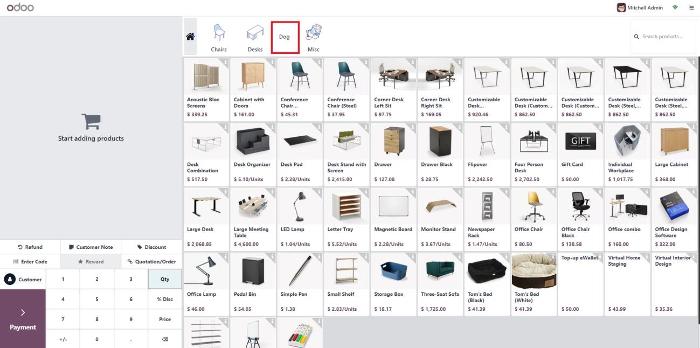
We can see our products in the screen.

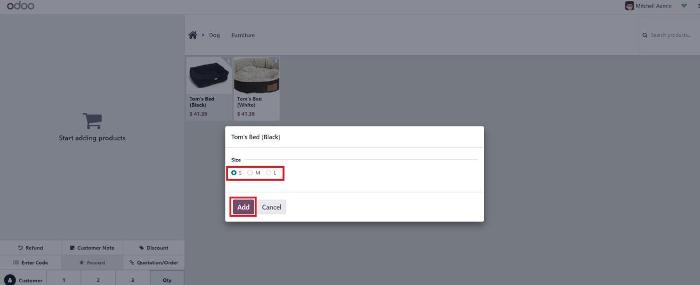
Select a product, and if applicable, choose a size from the variants. Click "Add" to include the item in the order.
Completing a Transaction
Review the order details and proceed to the payment screen. .
Choose a payment method and validate the payment amount and
Optionally, add the customer's name, select invoice options, and click "Validate."
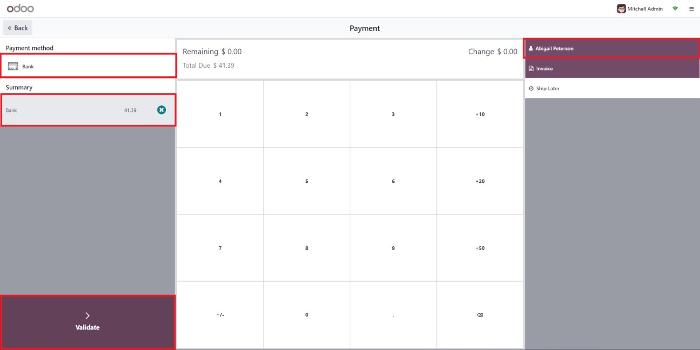
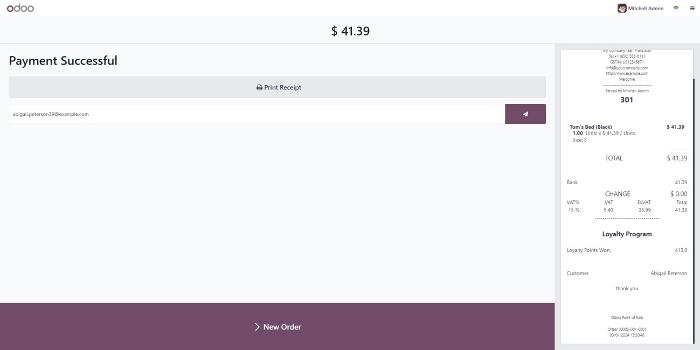
Upon successful validation, a payment confirmation screen appears.
Click "New Order" to initiate a new transaction.
By following these comprehensive steps, you'll be able to efficiently configure Odoo 17 Point of Sale for your shop, enhancing both operational efficiency and customer satisfaction.
Point of sale Basics in odoo17